FAQ: Session Notes: how to add service codes as a joined user?
Goal
In this example, we show how to create a Session Note with Joined Users, as follows:
User |
Role |
Service Code |
rosita.grajales |
Author of the Note |
2 Units of service code RSC.KM15 |
cesar.qa |
Joined user # 1 |
1 Unit of service code RSC.T10 |
r.auditor |
Joined user # 2 |
no service code, just comment |
Step 1: Create Client Assignment
Be sure that the client for whom you are creating the Session Note has valid Service Code Assignations.
In our example, we are going to create a Session Note for the client “Artemisa Johnson”.
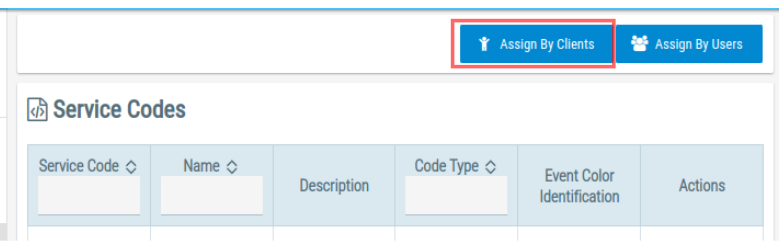
Enter the the “Service Code - Assignments By Clients” screen:
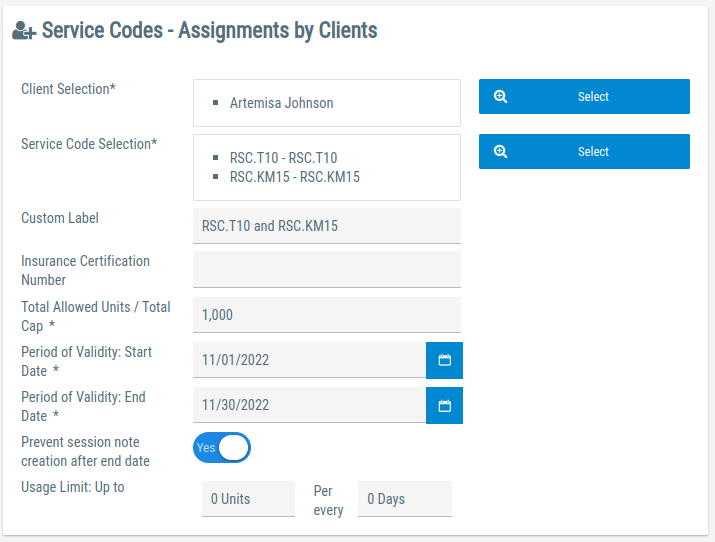
Here we create a single Service Code Assignment with enough units of the service codes RSC.T10 and RSC.KM15:
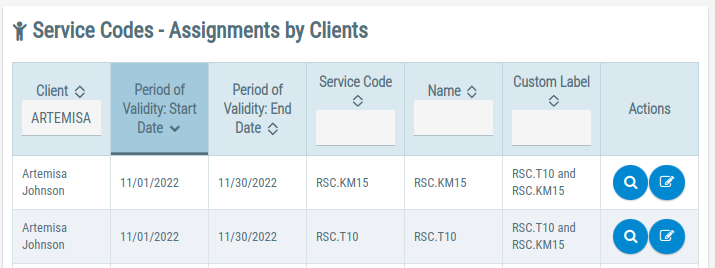
The service code assignment appears in the list after saving where you can review it.
Step 2: Create User Assignments
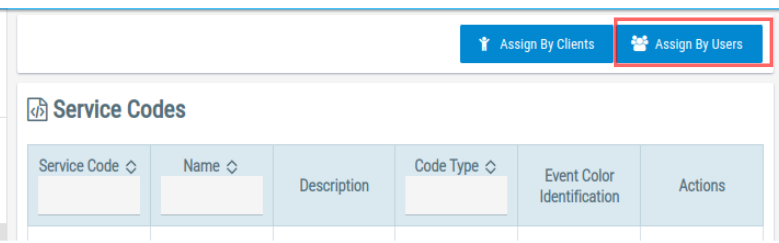
Now, we have to be sure there are available units of the service codes for the two Users that we want to include in the Session Note.
We use the “Service Codes - Assignments By Client” Screen:
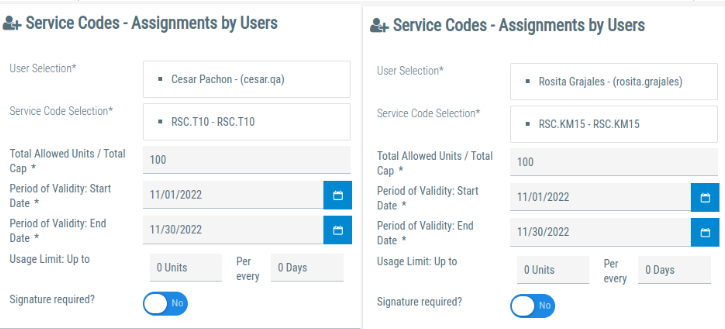
Here, we create two assignments for each user - service code pair:
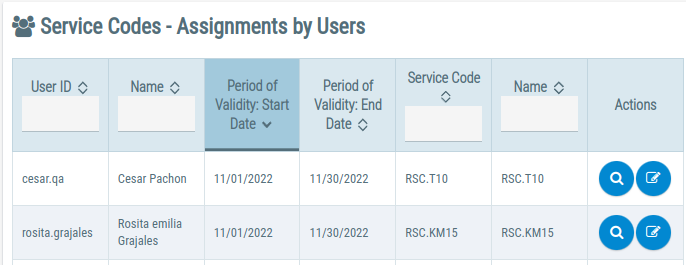
After saving, we can verify that both assignments had been created:
Step 3: Create the Session Note
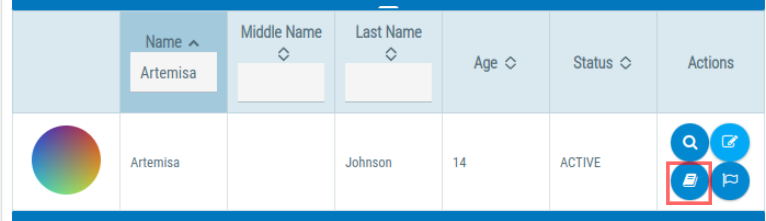
The user “rosita.grajales” is the author of the Session Note. She searches for the client “Artemisa” and selects the “Session Note” button:
In “the Session Notes Details” for Artemisa, she uses the Red button to add a new Session Note:
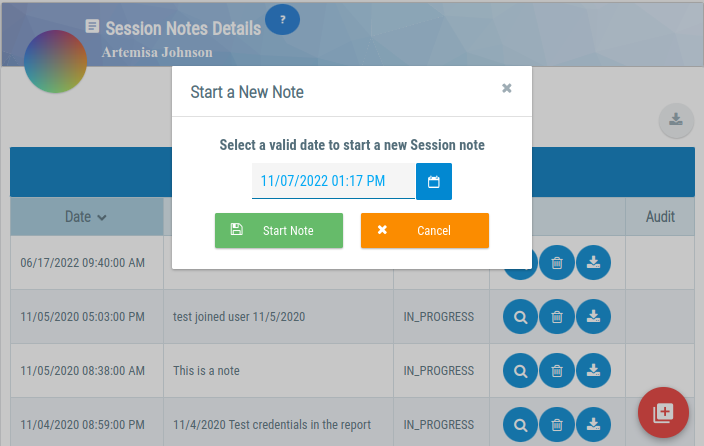
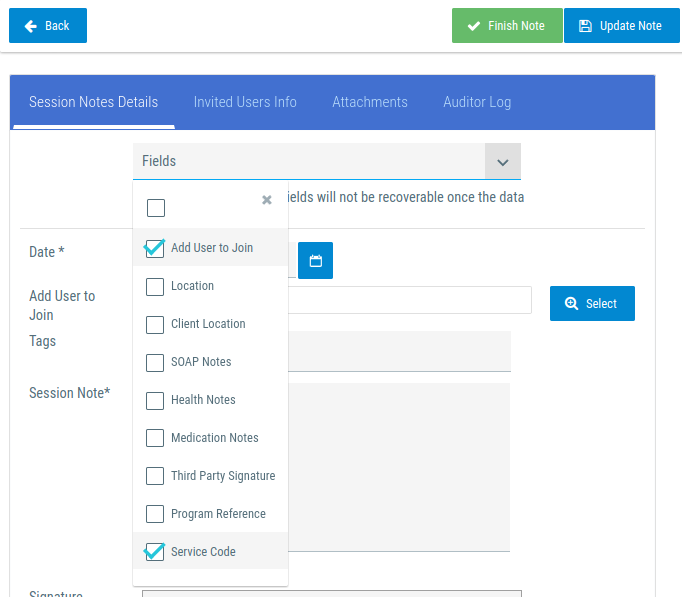
After Selecting the date and clicking on “Start Note”, the user “Rosita.grajales” will enter the Session Note screen. At this step, it is important to check that the fields “Add User to Join” and “Service Code” are both checked:
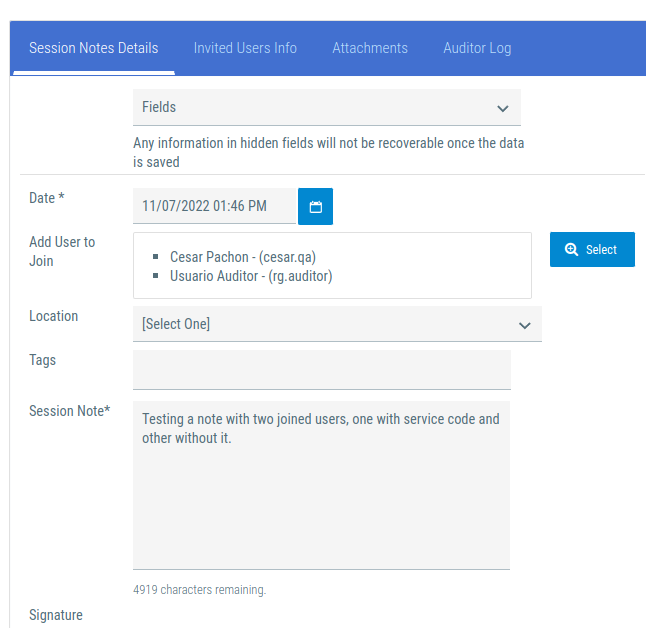
The basic information of the Session Note is added, along with the two joined users:
Now, the user “Rosita.grajales” scroll down to the bottom of the screen, after the signature, to add her service code:
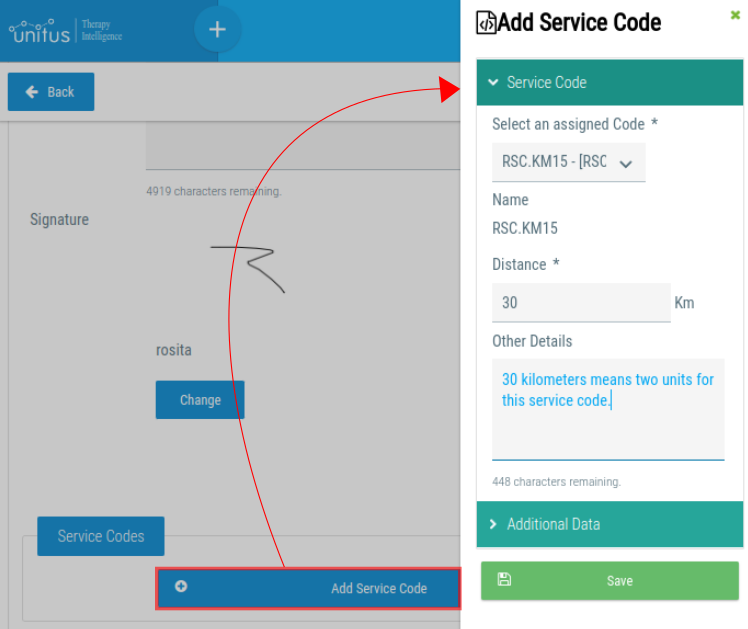
Be sure to fill any mandatory fields under “Additional Data”! After saving, the Session Note is updated with the new Service Code usage:
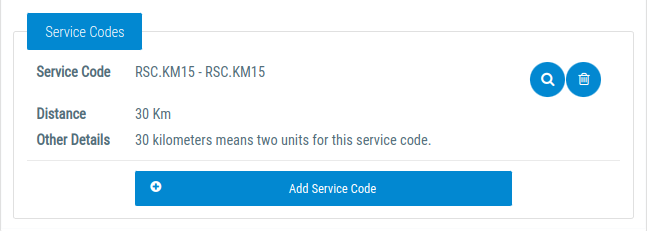
The user Rosita.grajales clicks on “Update Note” (not “Finish Note”). The information of the invited users can be verified:
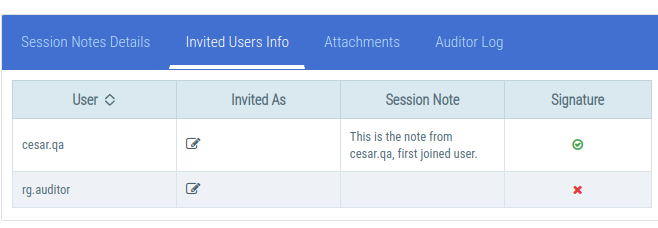
Step 4: Joined User with Service Code
Now, it is time for the first Joined User (cesar.qa) to visit the Session Note to add his own service code.
Notice how in the list of Session Notes for the client Artemisa, there is a “Update Note” button available:
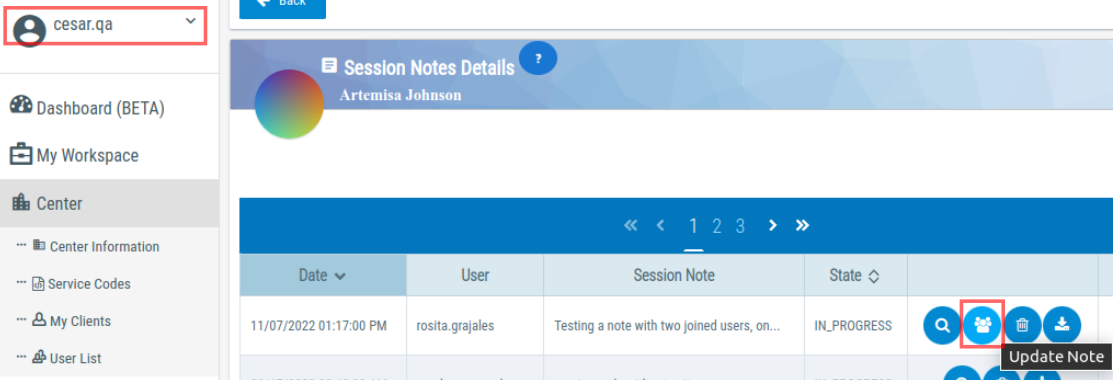
Now, the user “cesar.qa” can enter the information for his Session Note, including the Service Code RSC.T10:
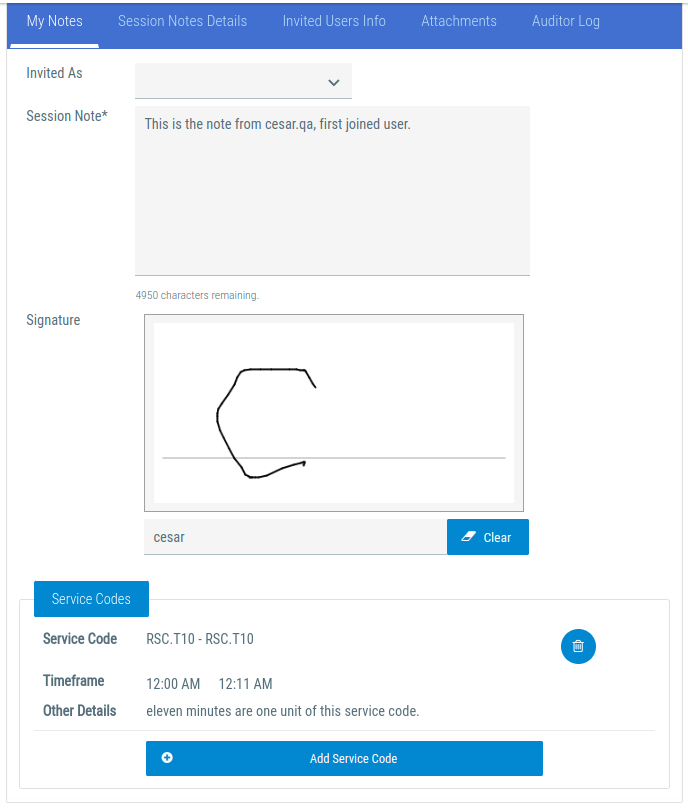
Step 5: Second joined user without Service Code
In this step, we are logging in as the second joined user (rg.auditor), search for the client and the note to update:
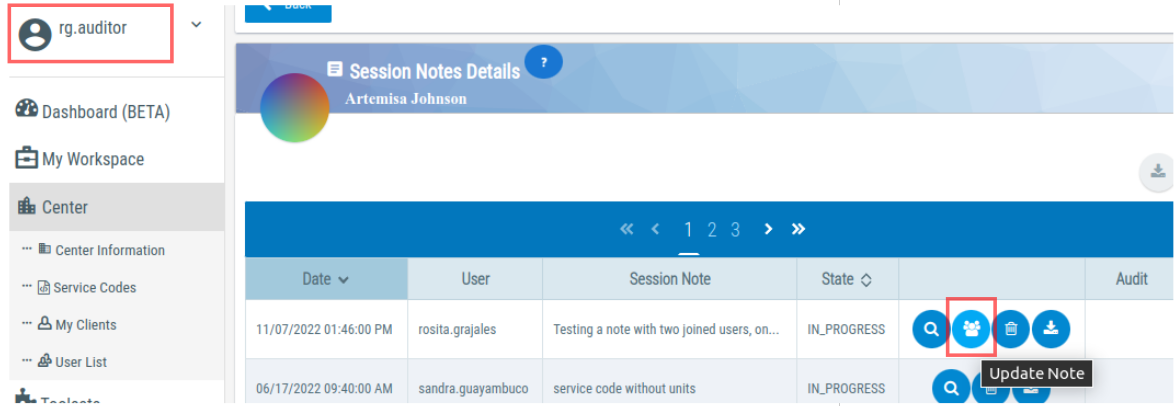
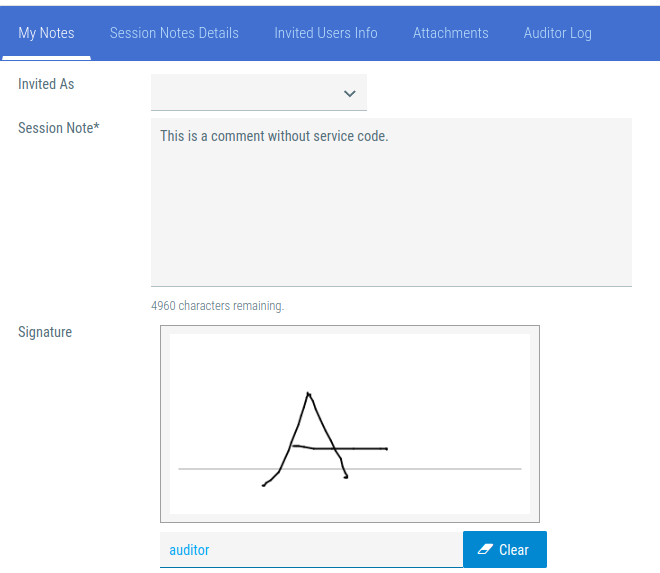
We added a note without adding any Service Code, and update the Session Note:
Step 6: checking the Session Note and finalizing it
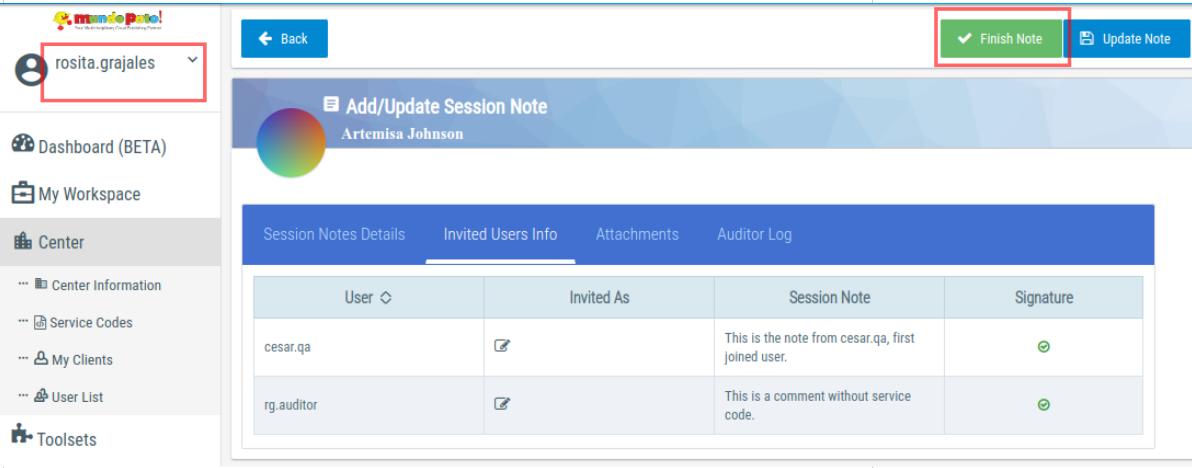
We are logging now as “rosita.grajales”, the original author of the Session Note.
We check that the notes from the two joined users are present in the “Invited Users Info” tab:
Step 7: checking in the Session Notes Dashboard
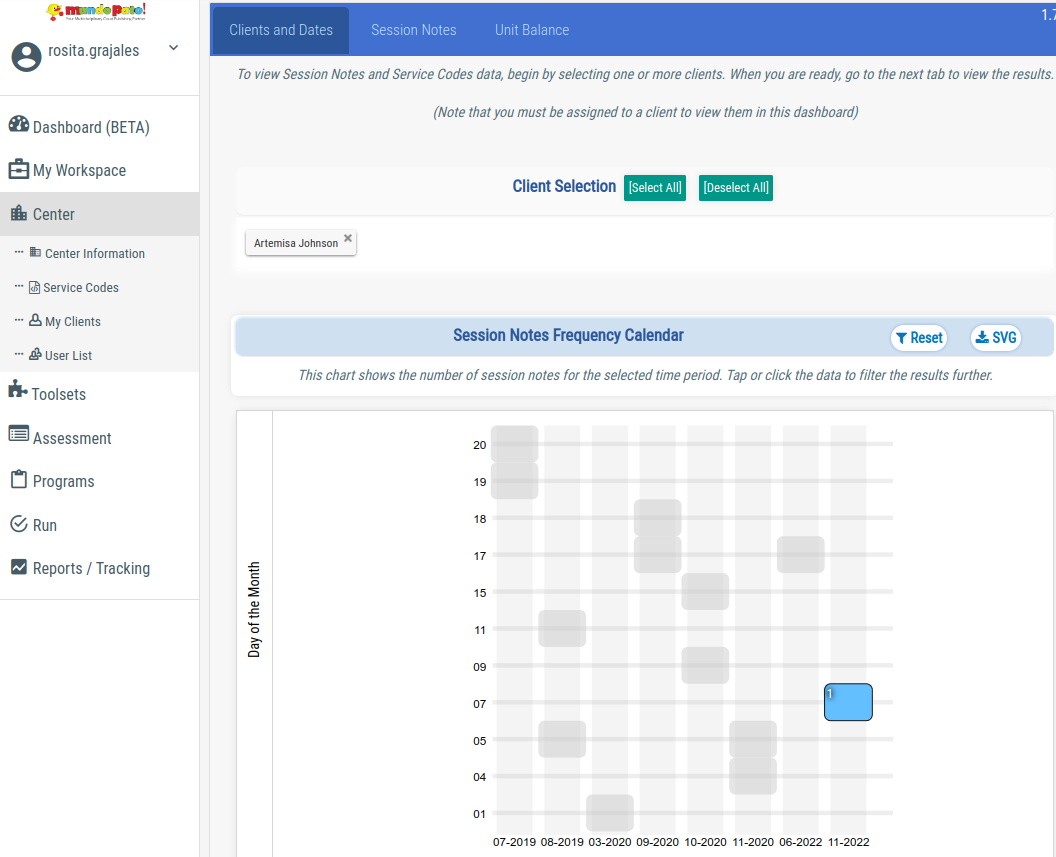
In the Session Notes Dashboard, we select the client and the date for our Session Note:
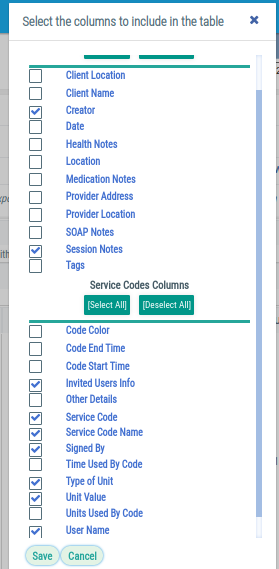
In the second tab, we select the “columns” button to display only a few of them, relevant to the joined users information:
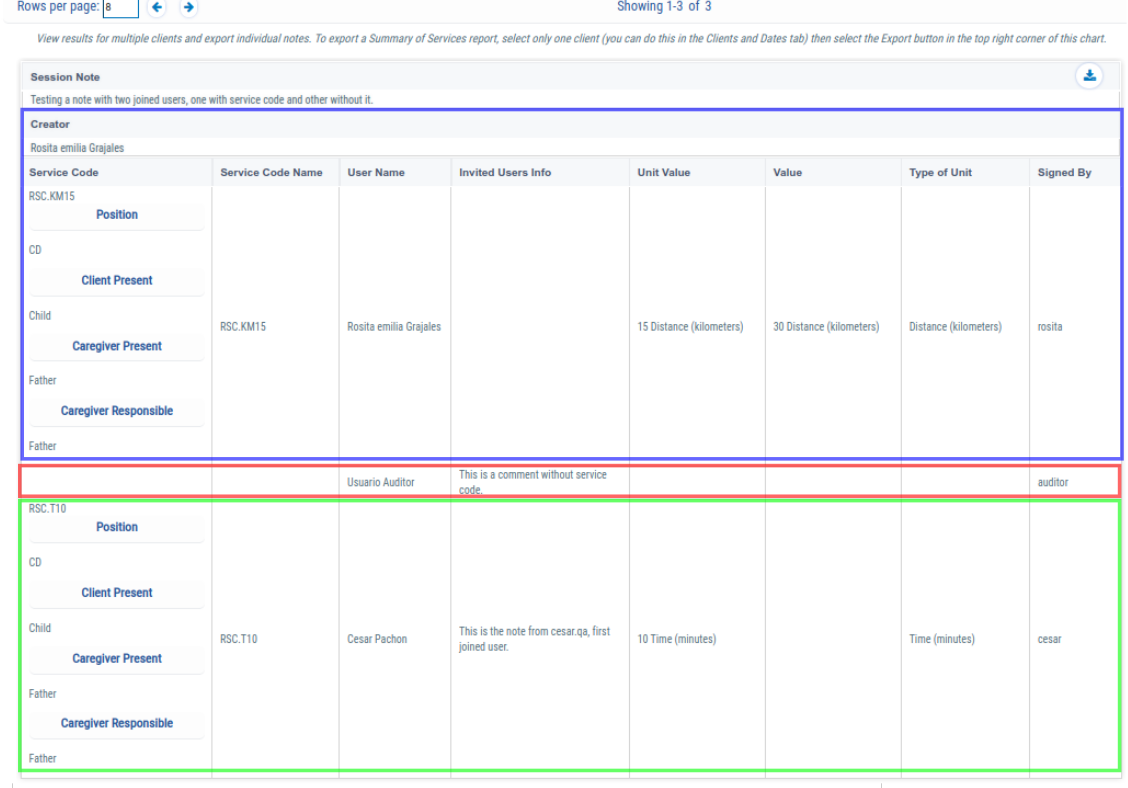
After saving these settings, we can see the report with the original author’s Service code in blue, the first joined user with his own service code in green, and the second joined user, without service code, in red:
Step 8: Export the session note
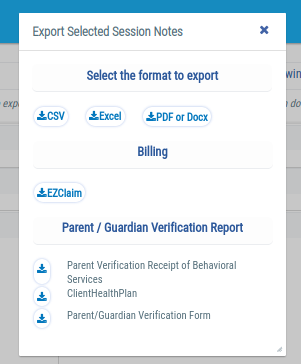
We select the “export” button and then the PDF format:
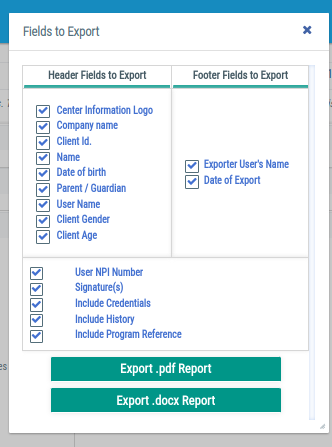
We check all the fields, and press “export .pdf Report”
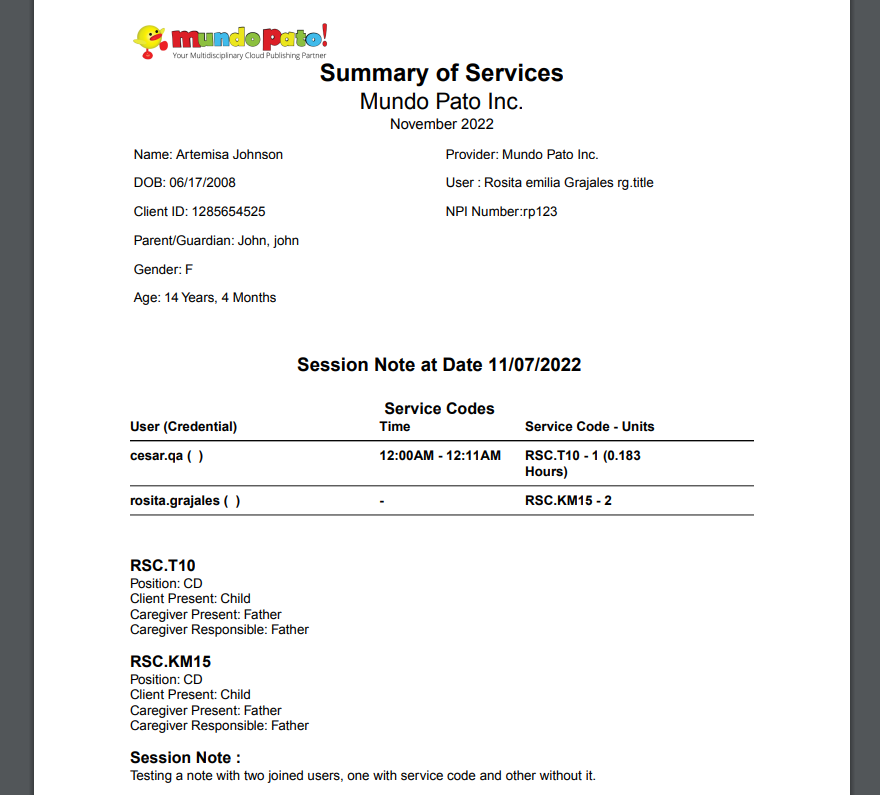
In the PDF, you can see the two users who reported service codes: