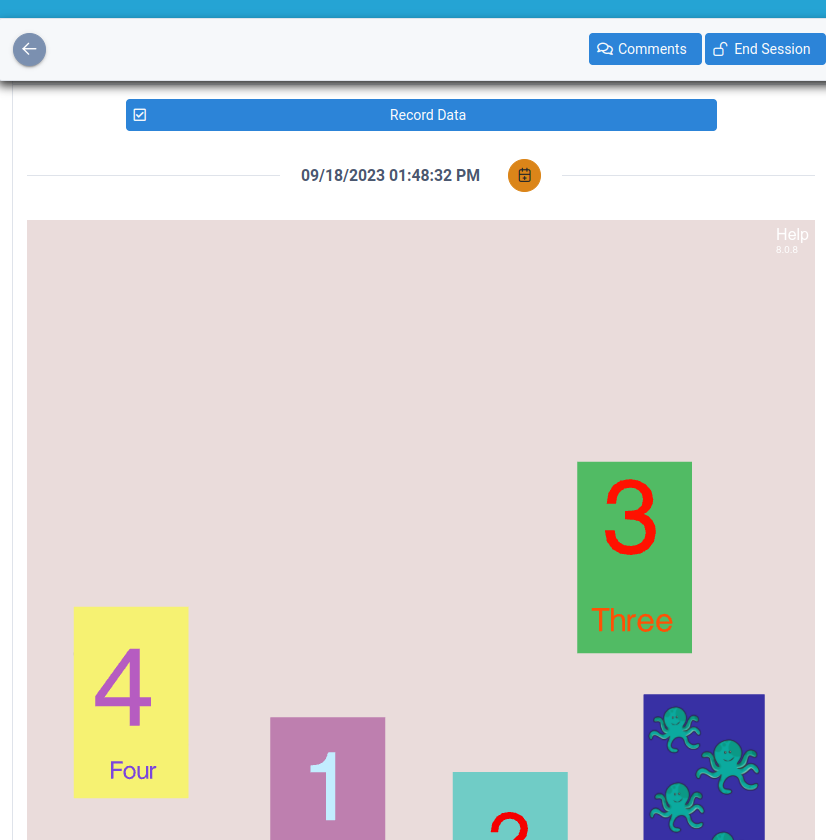
Both Assessments and Program Templates support the “Custom Code” area, a field where you can paste custom HTML and Javascript code to inject custom interactive content to your curriculums.
To check what kind of HTML content can you inject into an assessment, please click here .
To check what kind of HTML content can you inject into a Program Template, please click here.
This article explains how to use the “Custom Code” area to embed a specific Virtual Materials Slide into your Assessment or Program Template.
Embedding into an Assessment
Step 1: Select the Pack and the Slide that you want to embed
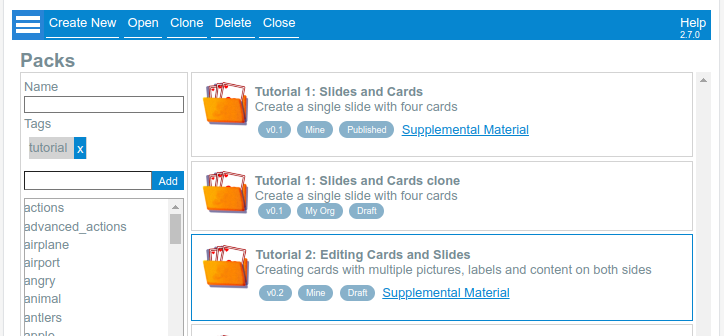
Go to “Packs” and select the “Tutorial 2: Editing Cards and Slides”:
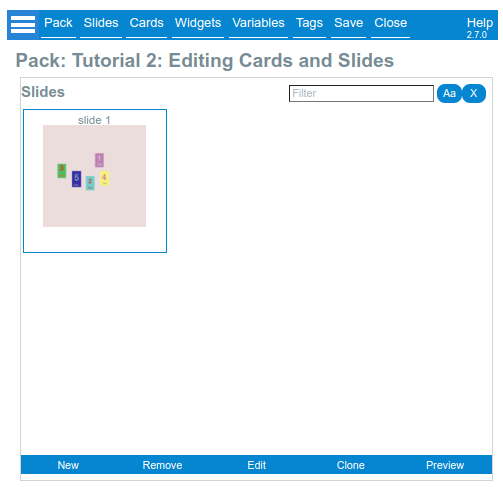
There is a single slide into this pack. Let’s click on it and then press the “Edit” button in the bottom:
Step 2: Copy the code
Once the slide is open, click on the Slide menu on the top, and then in the “Embed in Assessment” option:
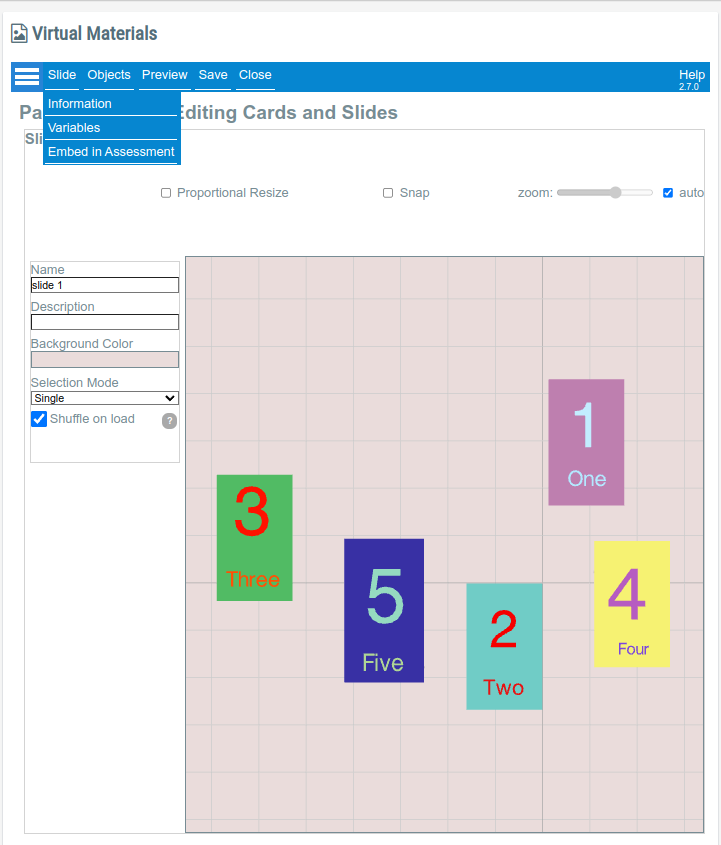
A dialog box will appear, offering a “Copy” button. Click on it.
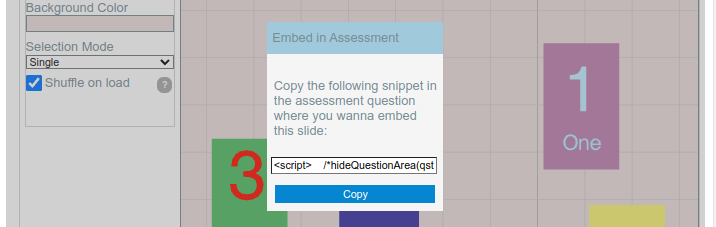
Step 3: Paste the code
Go back to your assessment, and paste the code into the custom html code box
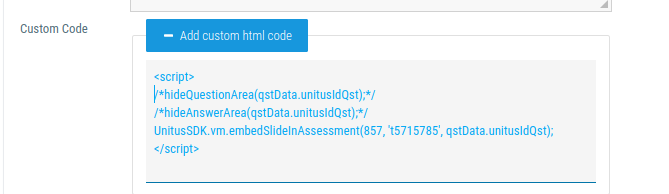
Preview your assessment, click on the cards to flip them!
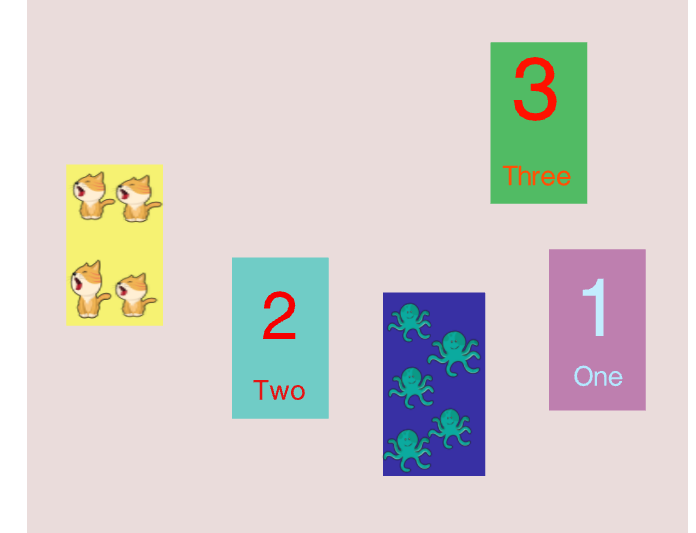
Embedding into a program Template
Step 1: Select the pack and the slide
Go to “Packs” and select the “Tutorial 2: Editing Cards and Slides”:
There is a single slide into this pack. Let’s click on it and then press the “Edit” button in the bottom:
Step 2: Copy the code
Once the slide is open, click on the Slide menu on the top, and then in the “Embed in Program Template” option:
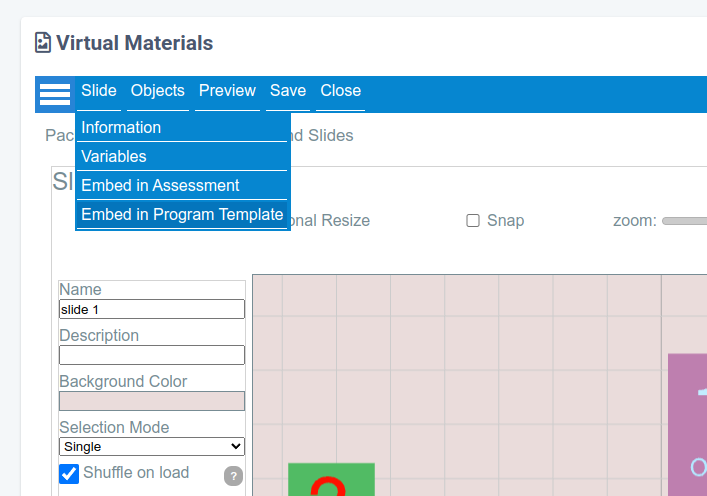
A dialog box will appear, offering a “Copy” button. Click on it.
Step 2: Enable the Custom Code Field
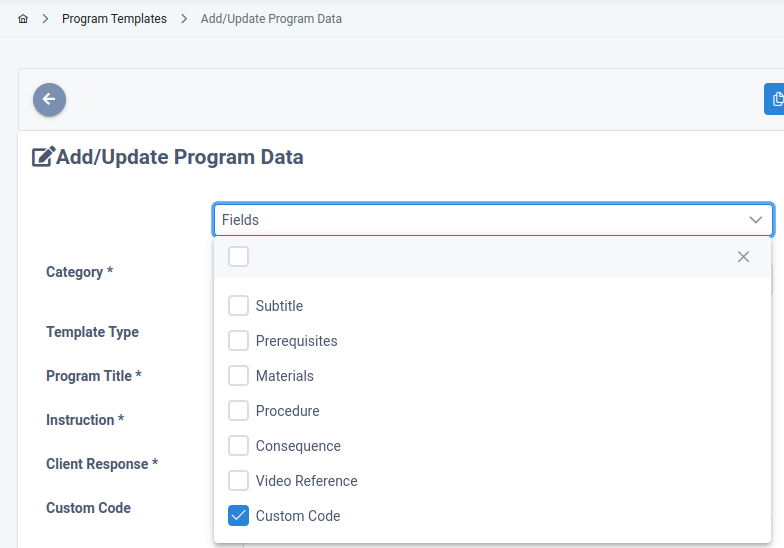
Go back to your Program Template, and check the “Custom code” field in the Fields list:
Step 4: Paste the code
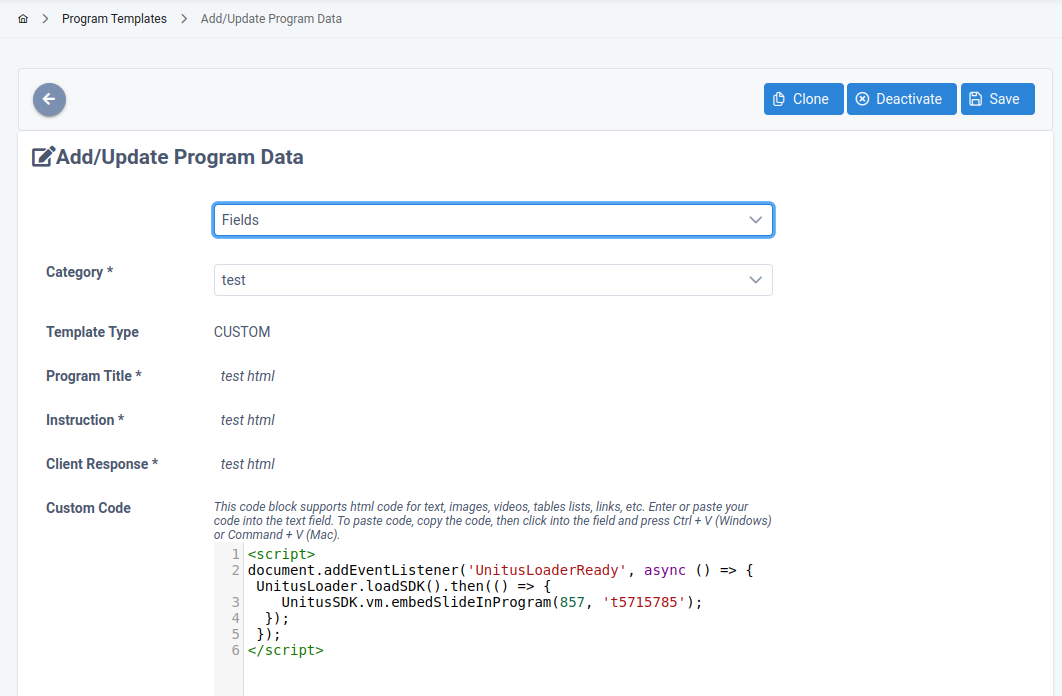
Paste the code into the custom html code box
Assing your Program Template to a client, and test your code! You should be able to see the VM Slide loaded in the Execute Program screen: