Step 1: Open the Custom Forms Toolset
Step 6: Add fields to the section
Step 7: Adding another section
Step 9: Assigning a Custom Form to a Client
Objective
In this tutorial we are going to create a simple Custom Form to register certain client preferences: favorite food, TV show and food. We want to be able to update the form each month, in order to track changes in the client’s preferences.
Step 1: Open the Custom Forms Toolset
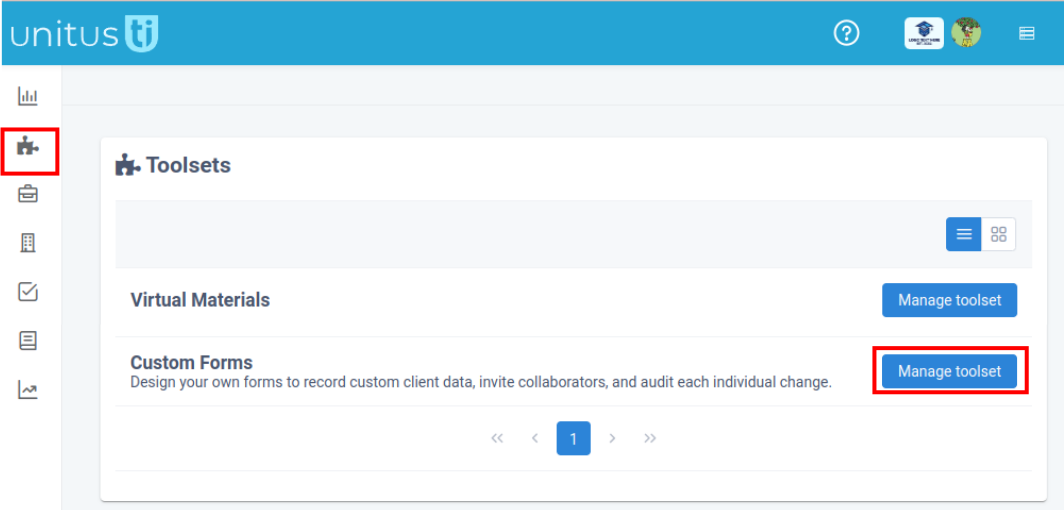
Click on the Toolsets icon in the main menu bar (looks like a puzzle piece). Then, click on the “Manage Toolset” button next to the Custom Form title:
Step 2: Create a new Form
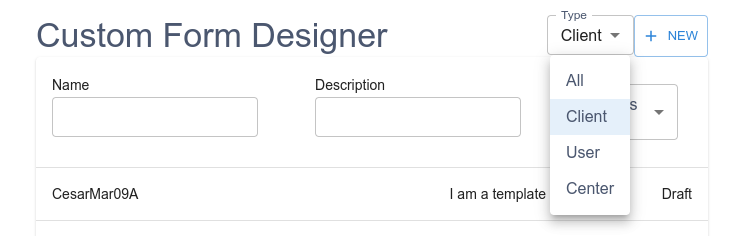
Click on the “Type” dropdown and select “Client”, then press the “New” button:
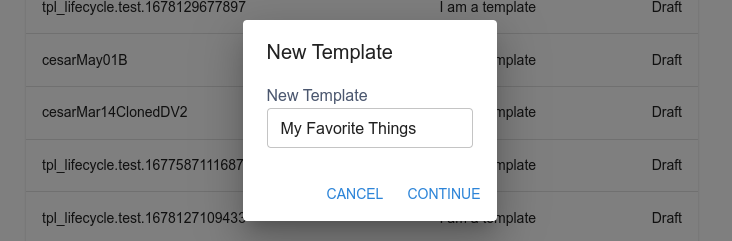
A dialog box will appear, asking for the name for the new Template. Type “My Favorite Things”:
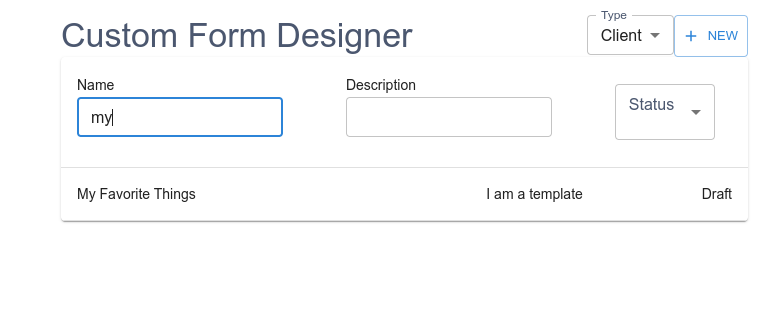
A list of existing forms will be presented. The list will be empty if you have not created one yet.
After confirming the name, the new Custom Form will appear in the list:
Step 3: Open the Custom Form
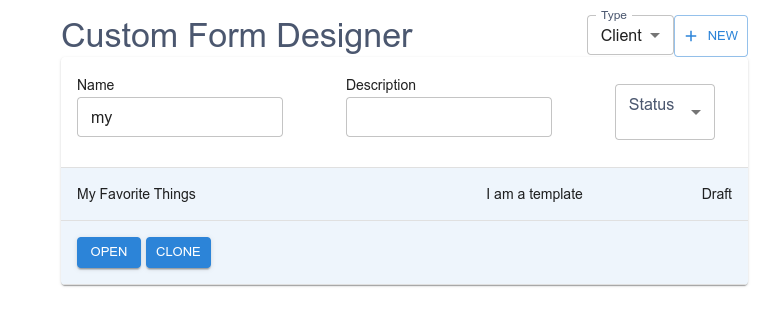
Click on the name of the new Custom Form. A bar with buttons will appear under the name. Click “Open”.
Step 4: Editing a Custom Form
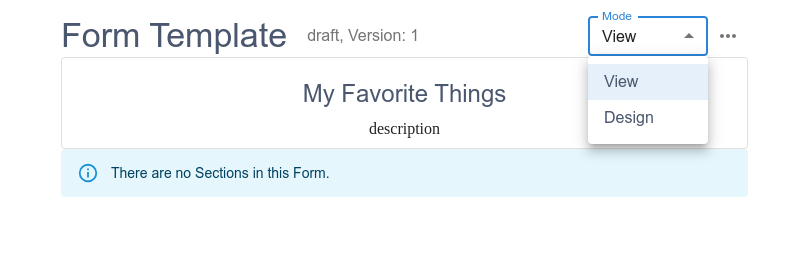
The new Custom Form is empty, and the editor appears in View mode. Now we need to enter Design mode to add sections and fields to the form. Select Design in the Mode dropdown:
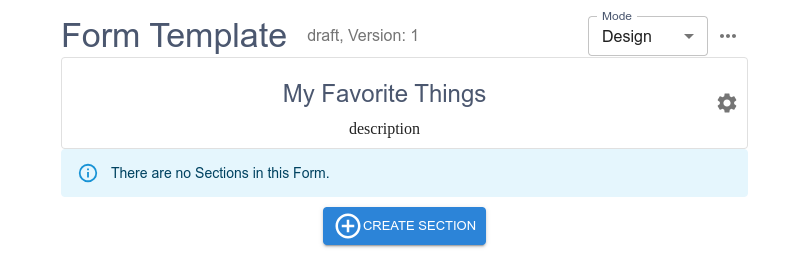
New buttons and options appear in Design mode. The Cog icon near the name of the form will let you change the title and description of the Form. Click the “Create Section” button in the bottom:
Step 5: Create a section
Sections are collapsable groups of fields. We want to create a first section that will serve as the header of the form, with the title “General Information”. The description is optional.
Be sure to leave “Repeatable” unchecked, as we want this block of information to appear only once in the form.
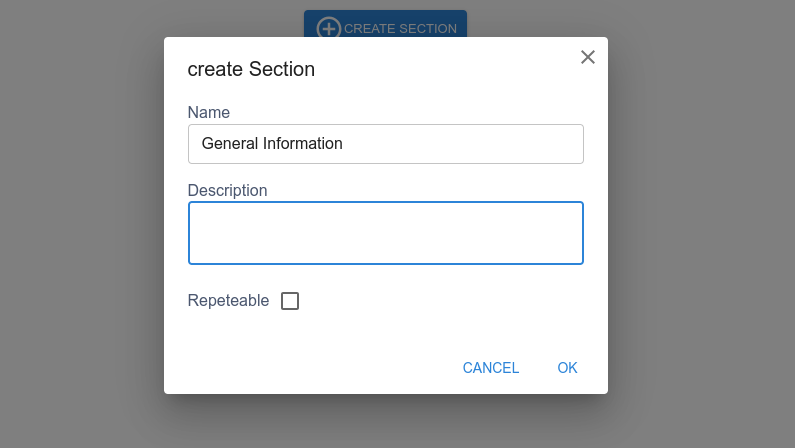
The Header section looks like the following screenshot. It does not yet have any field.
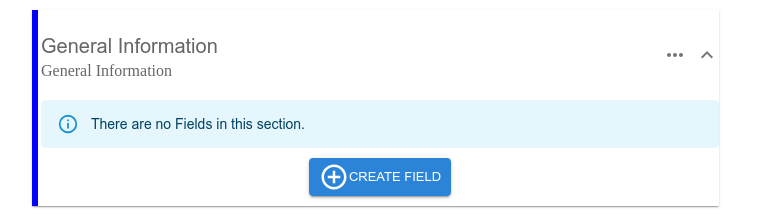
Step 6: Add fields to the section
To add a new field, click the “Create Field” button at the bottom of the section.
We aim to store the name of the guardian (The person who accompanied the child during the interview).
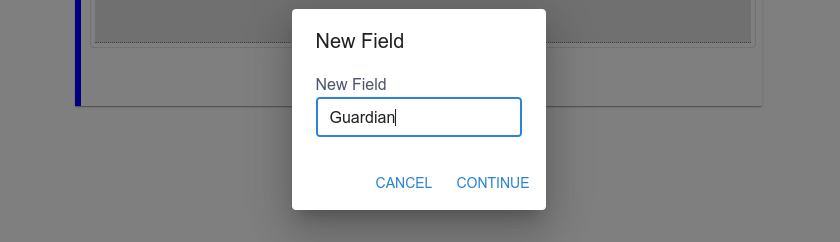
By default, fields are added with the type “Text”. It is OK for this example, but we want to tweak a bit our new field, so we click first on the name of the field, then on the three dots options that will appear at the right side and finally, select the Settings option:
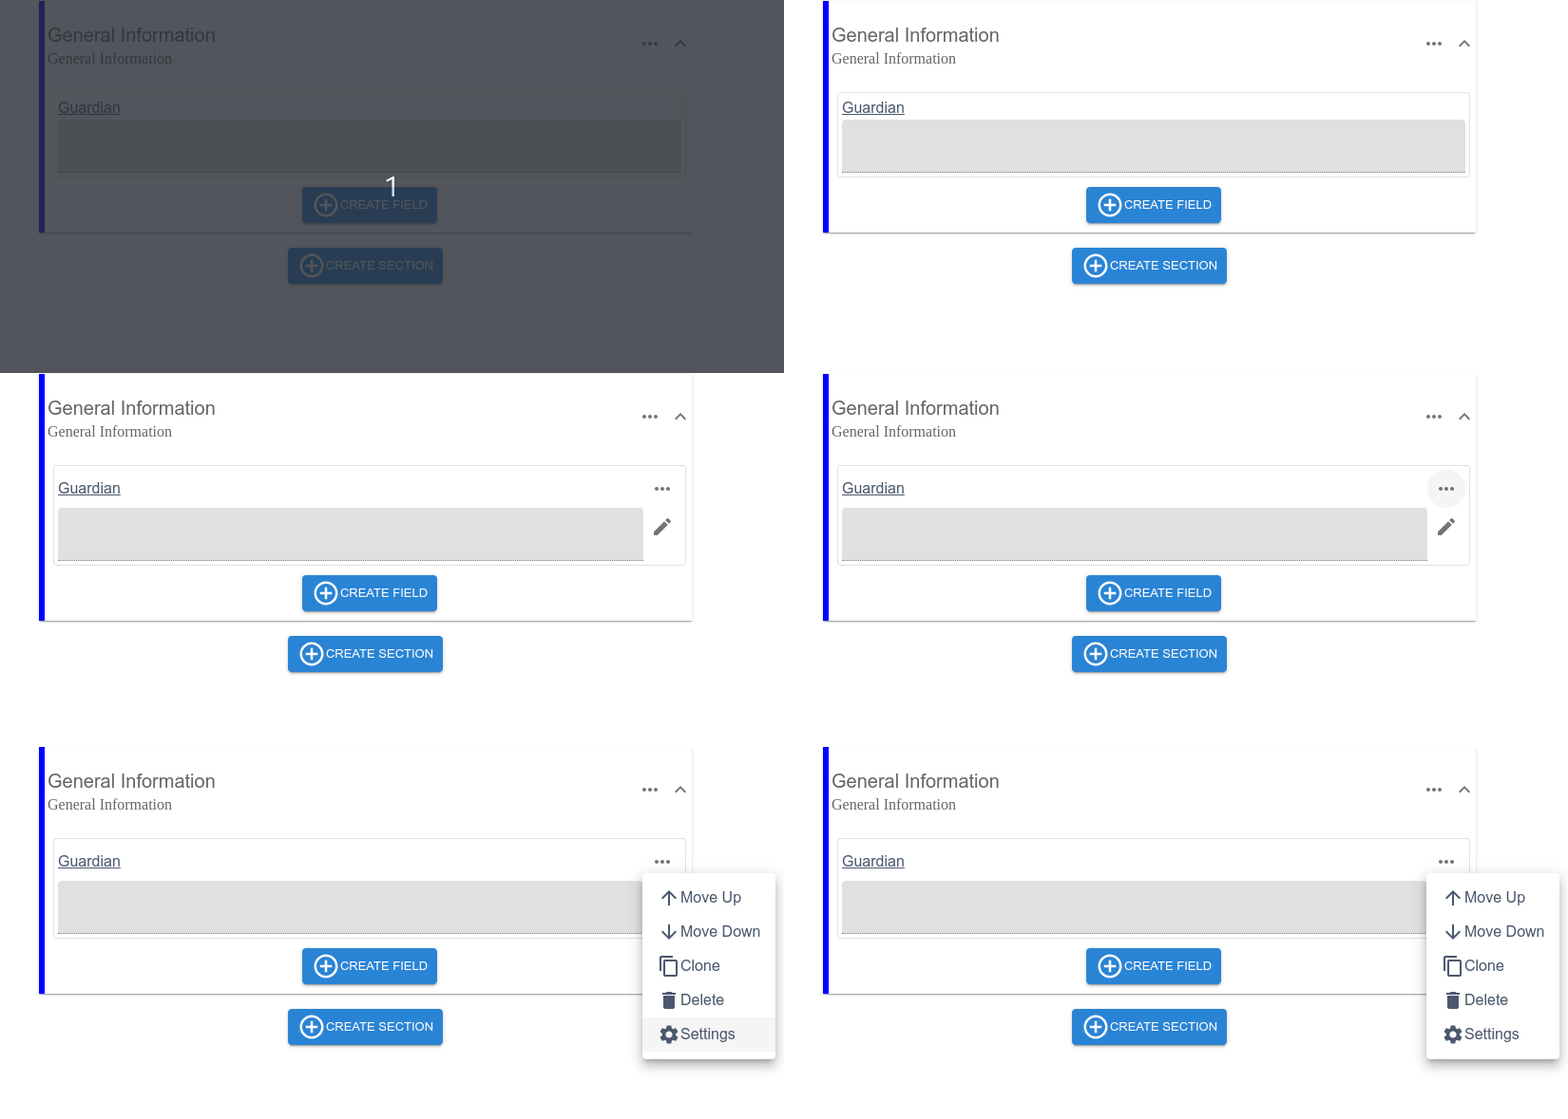
The Settings Dialog allow us to change many parameters associated with the field. In our example, we only changed the max value to 100 characters, and , for the “source”, we select “guardian”.
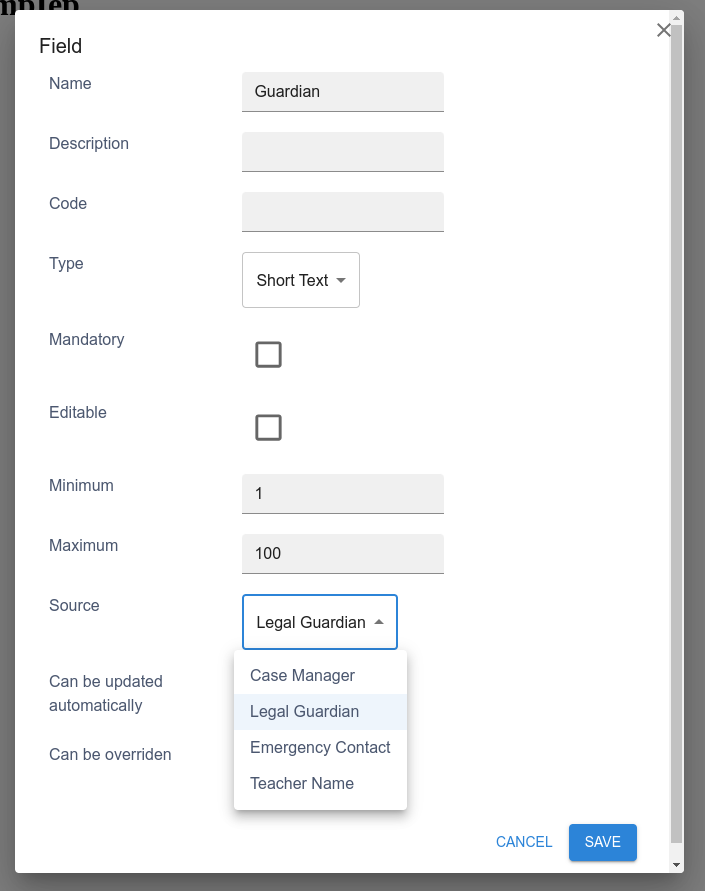
Custom Forms have the ability to connect fields to existing information stored in other parts of the system. Here, we are linking our text field to the UnitusTI Guardian information stored in the client’s profile.
About the checkboxes in the bottom:
- Can be overridden : means that we want the users to change the value provided by UnitusTI. In this example, the person that brings the child to the interview may be different to the person registered as legal guardian.
- Can be updated automatically : Custom Forms doesn’t change the value of the field on real time. It is because if the guardian change, you may want to preserve the name of the original person who was the guardian at the time of the form filling, not the name of the current guardian.
- Mandatory : Report to the user that this field should not be left blank.
Let’s add a second field to store the date of the interview:
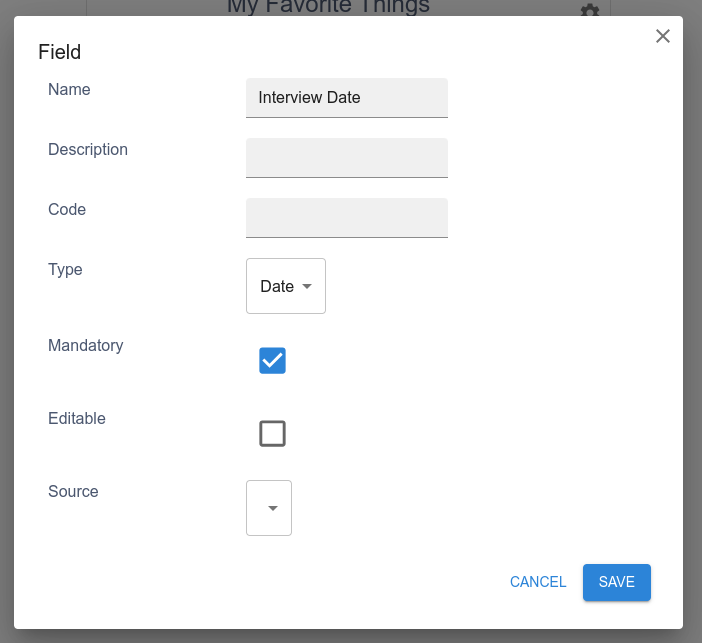
This is how the new Form looks by now:
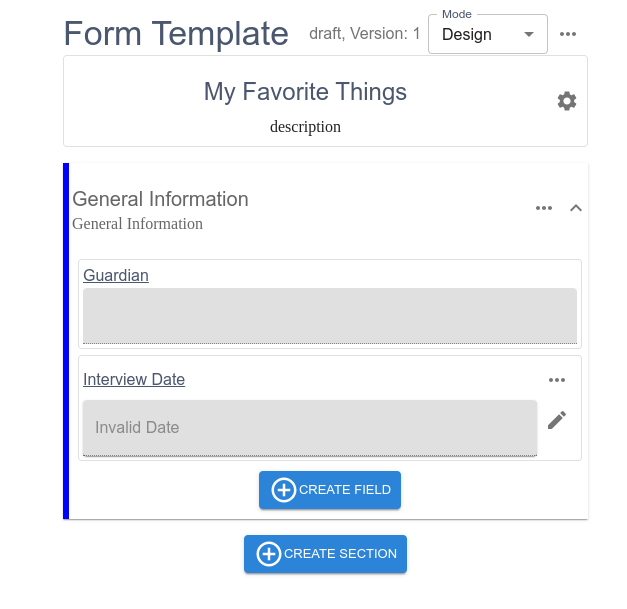
Step 7: Adding another section
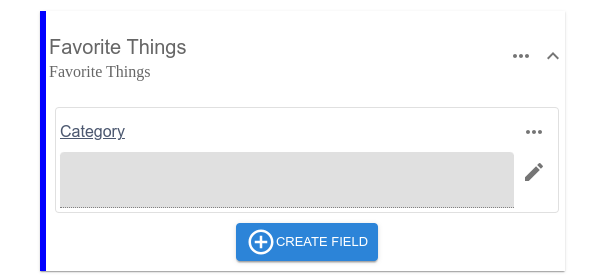
The Header section is not repeatable, but now we need a repeatable section because we want to store a variable list of favorite items. We will add a “Favorite Item” section with two text fields: the category name and a table to add items to.
First, add the section and the text field “Category” as we did in the previous steps. Don’t forget to mark this section as “repeteable”!
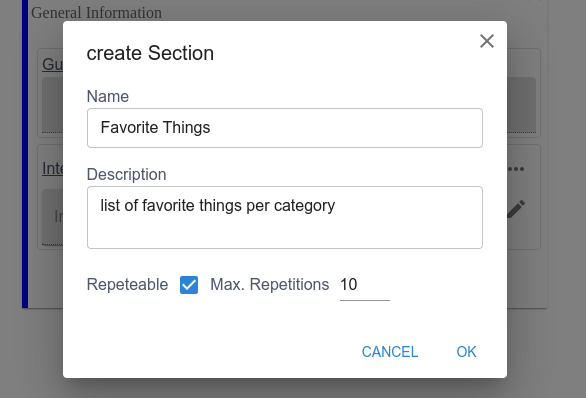
The new section should look like this:
Step 8: Adding a table
Add a second field to the new section, click on the name, then on the three dots to select the Settings option. Change the type to “table” and mark “editable” because we want the end user to be able to add rows when filling out the form.
Tip: If you want a fixed number of rows and columns, so the final user can fill the table but not change the structure, let “editable” unchecked.
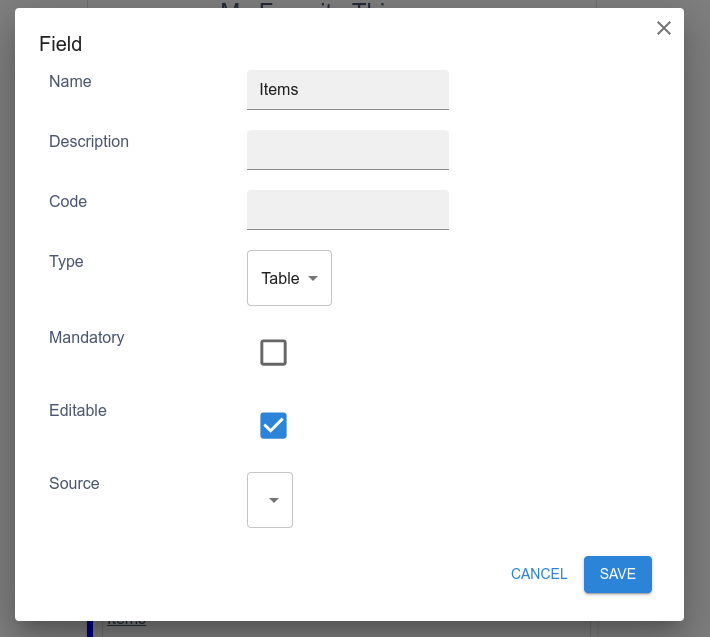
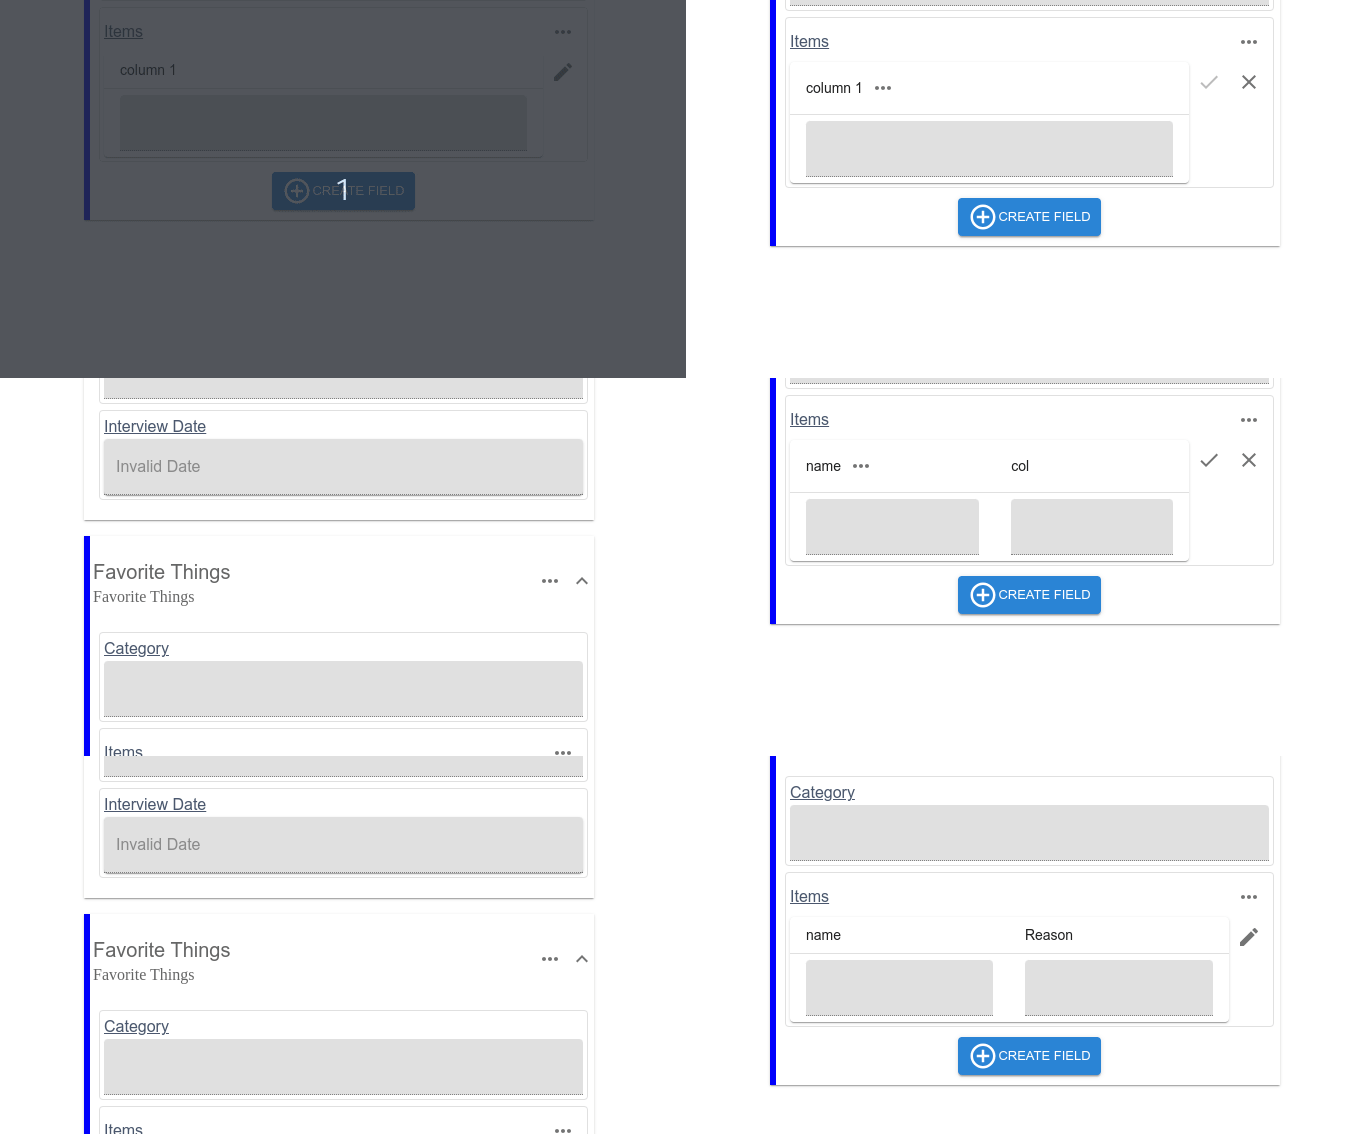
The table will be created with a single column and a single row. We want two columns: “item” and “reason” (the name of the object and the reason why the client likes it).
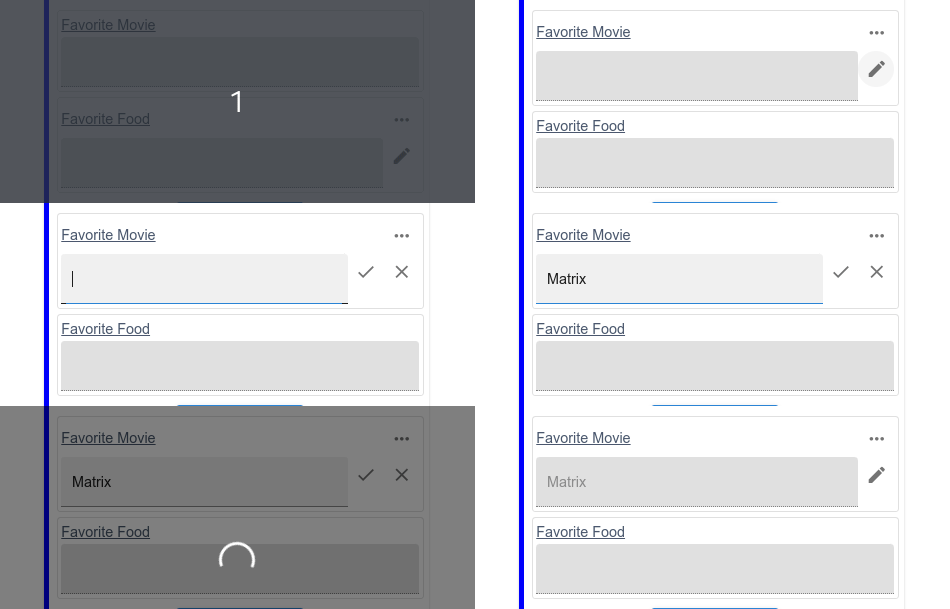
Click on the pencil icon to enter the edit mode for this field. The icon will be replaced by a checkmark and a cancel icon.
Three dots will appear next to the label of the column (“column1”).
By clicking them, a list of options will appear. Select “add column” and then repeat to add a row and edit the labels of the columns. Please check the following sequence:
You completed the design of your first Client Form! Now it is time to assign it to a real client.
Step 9: Assigning a Custom Form to a Client
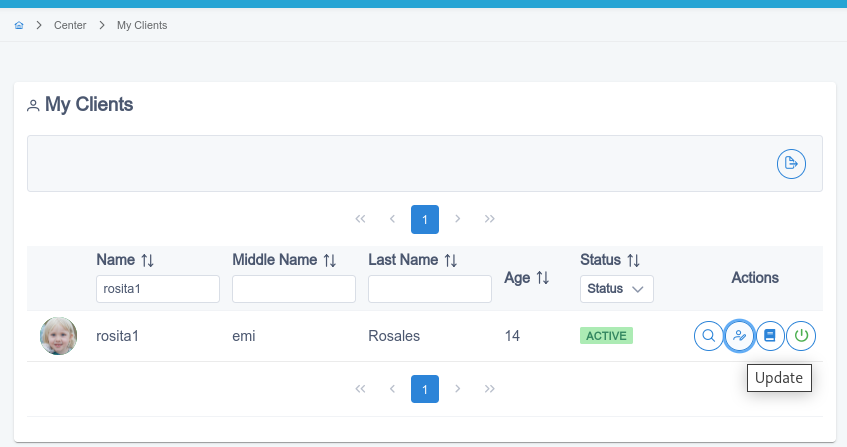
Go to “Center - My Clients”, search for a client and click on the Update icon:
In the client’s screen, scroll down until you see the tabs with the option “Custom Forms”:
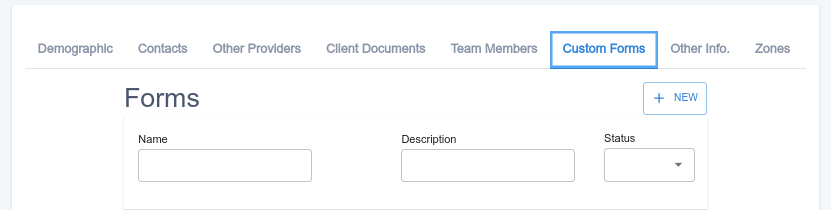
Click on the “New” button. A dialog box will appear, asking for the name for the new form and the Form Template to use as reference. Look for the “My Things” template. We will name this form “Rosita’s favorite things”:
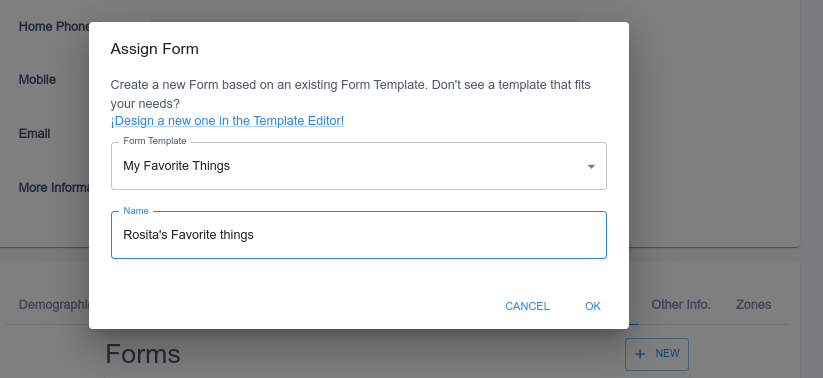
After the creation process finishes, we will have a copy of the Form attached to this client’s profile.
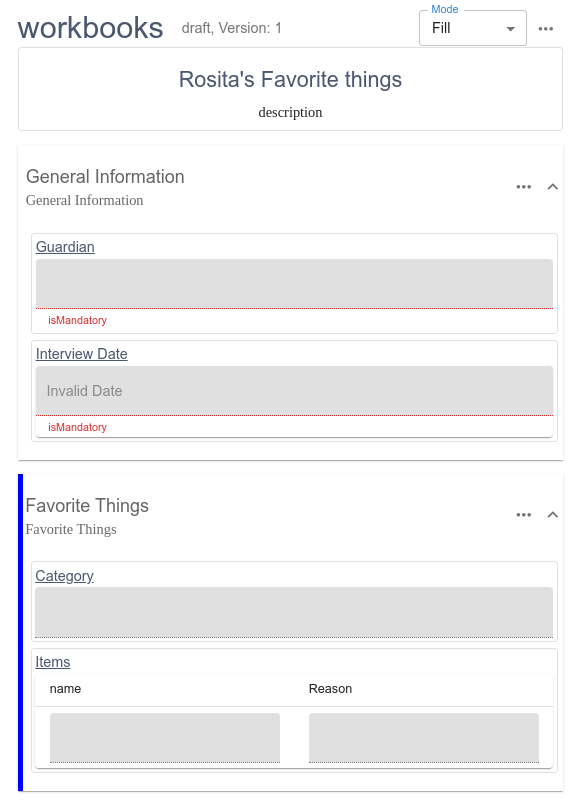
Step 10: Filling the Form
In order to fill a Form, you need to change the mode to “Fill”:

You can change the values of each field by clicking on the field’s name, then click on the pencil icon, as presented below. Once you are finished, you should click the check icon to save the new value: