When working with a group of clients, you may want to take data on the same program for each client in the group, using the same configuration. Unitus Therapy Intelligence allows you to bulk assign identical programs to multiple clients simultaneously to facilitate this setup. Once assigned, the programs will be managed individually for each client. To begin, select “Programs” from the main menu, and then “Manage Programs”.
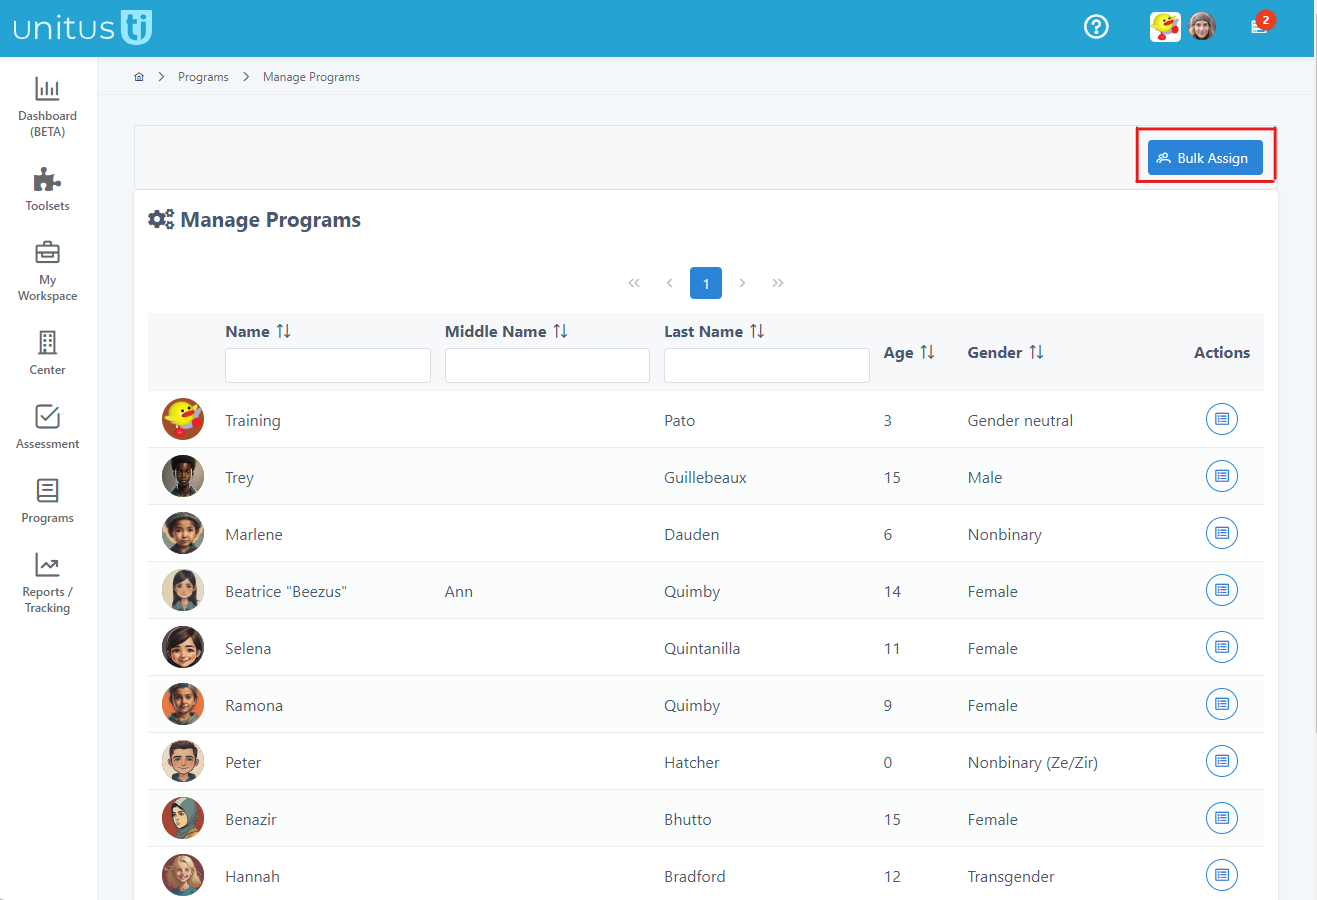
In the Manage Programs screen, instead of selecting an individual client, go to the “Bulk Assign” button at the top of the screen.
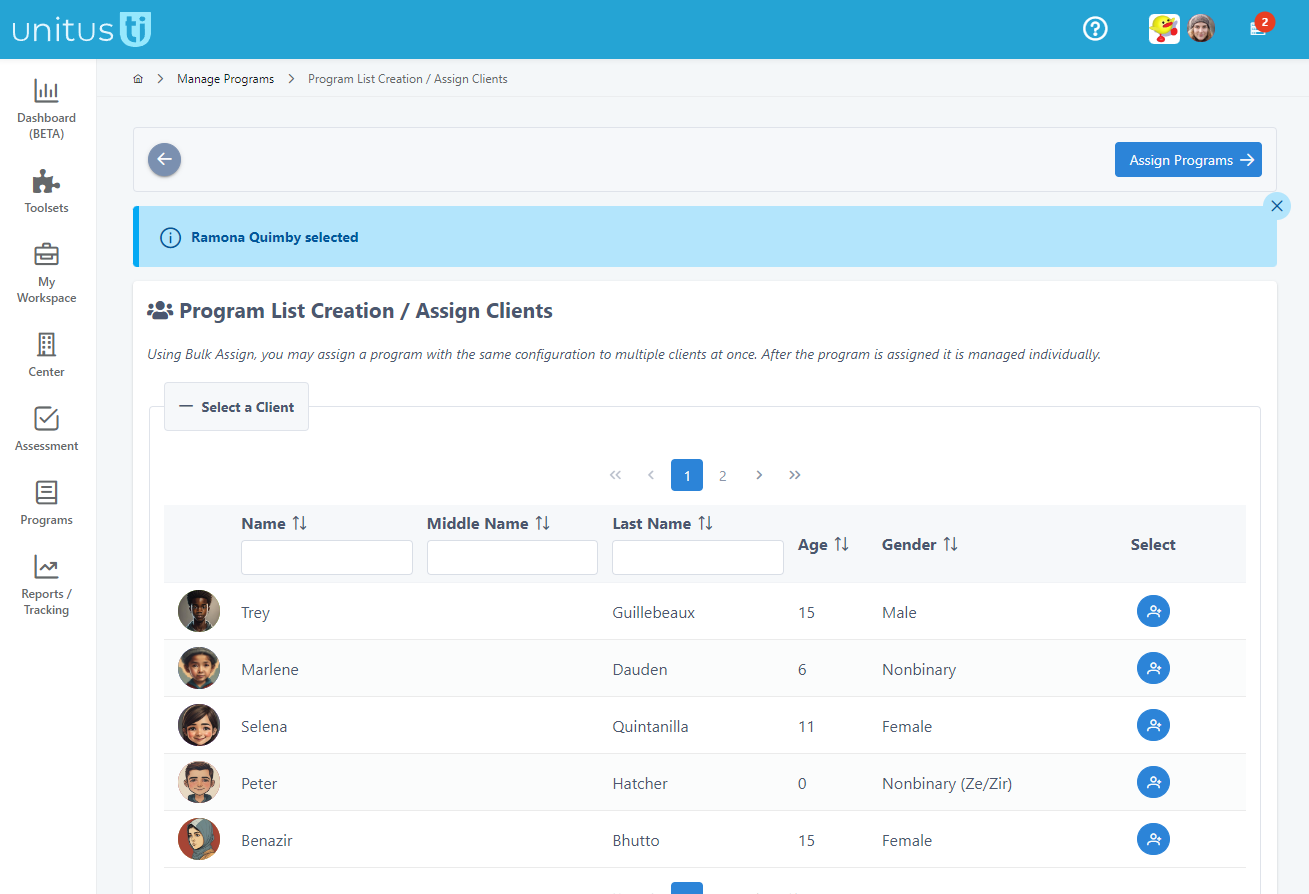
From the list of assigned clients, select the applicable clients by clicking the buttons in the Select column; you can select as many clients as you’d like. (Note: if you don’t see a client in this list, check with your Administrator to see if they need to be assigned to you.)
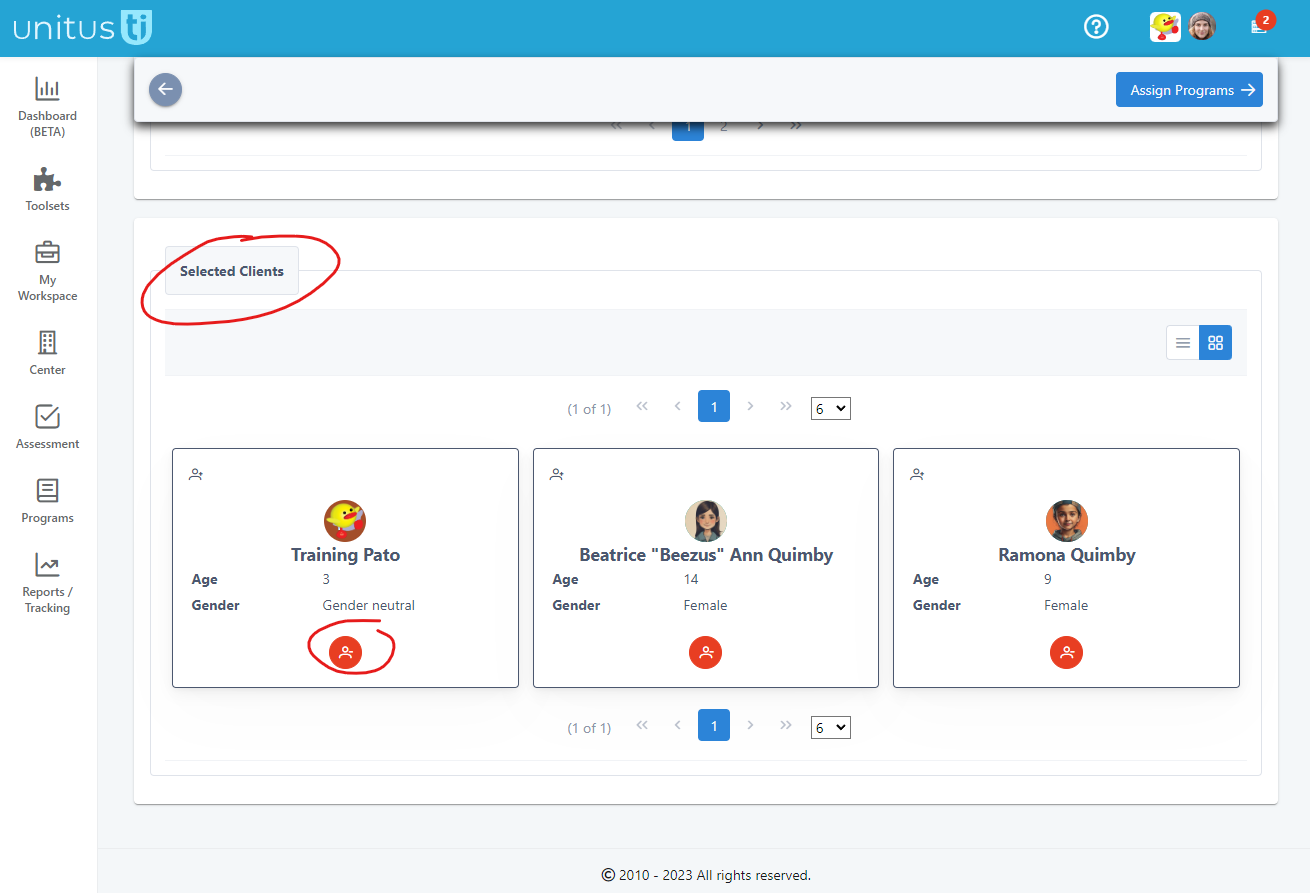
Review the clients you have selected by scrolling to the bottom of the screen; if you would like to remove a client, click the red Cancel Selection button beneath their picture. Once you have selected your clients for the group, click the “Assign Programs” button at the top of the screen.
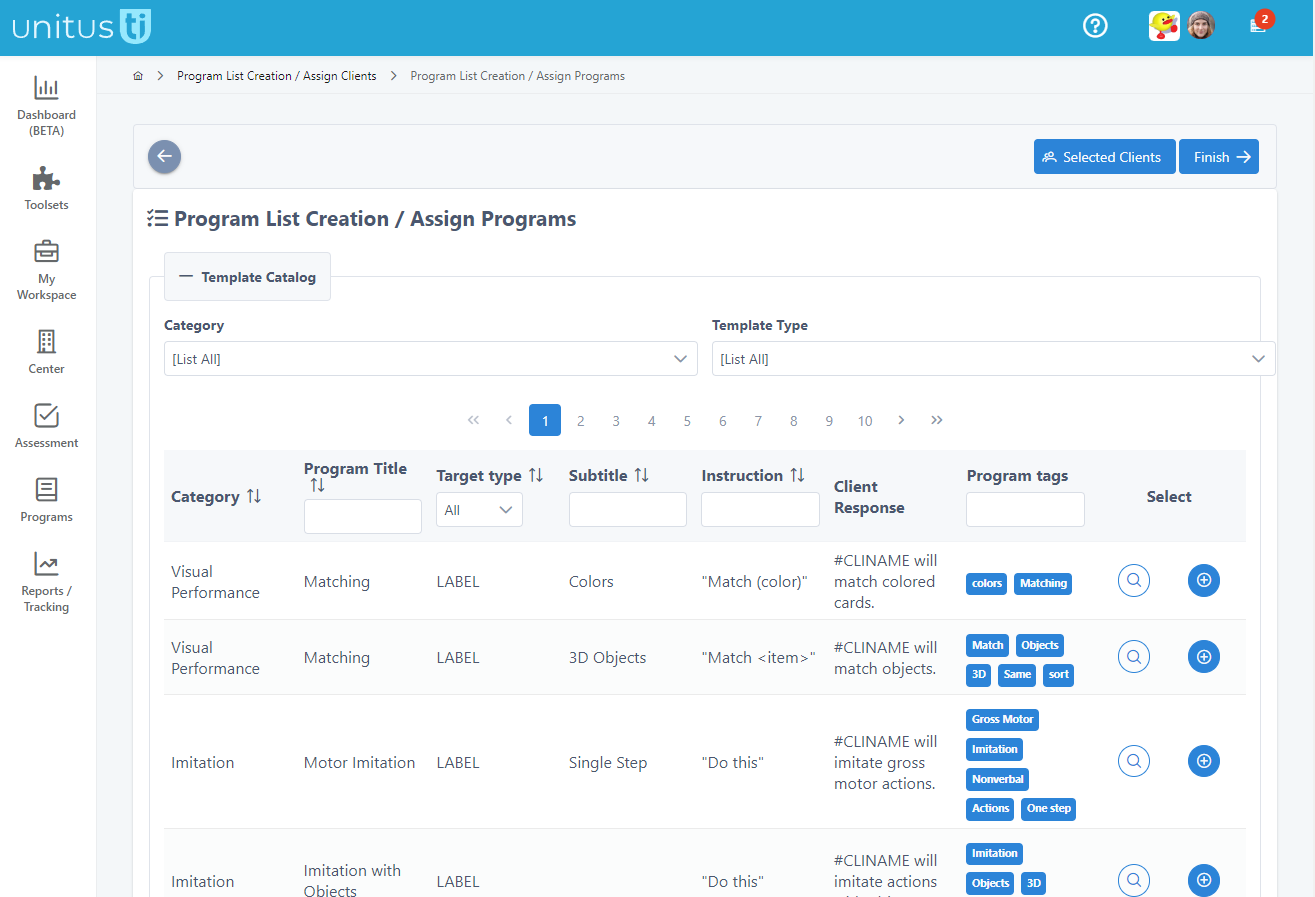
From this screen, you can again review the clients that have been selected for the group using the Selected Clients button (tip: to make changes to the selected clients list, go back to the previous screen using the gray back button) . Assign programs to the group by selecting a program from the Template Catalog. You can use the filters at the top of the screen to narrow your search, or use the search boxes at the top of the columns, or search by pages using the page numbers or arrows. See more details about a particular program by using the preview button and when you are ready to select a program, choose the plus button in the Select column. (You will need to configure each program individually, so start by selecting one program to add to the list.)
Configure the program as you wish (note that detailed instructions for assigning programs can be found in the help center). Repeat this process until you have added all desired programs, then click the “Finish” button at the top of the screen.
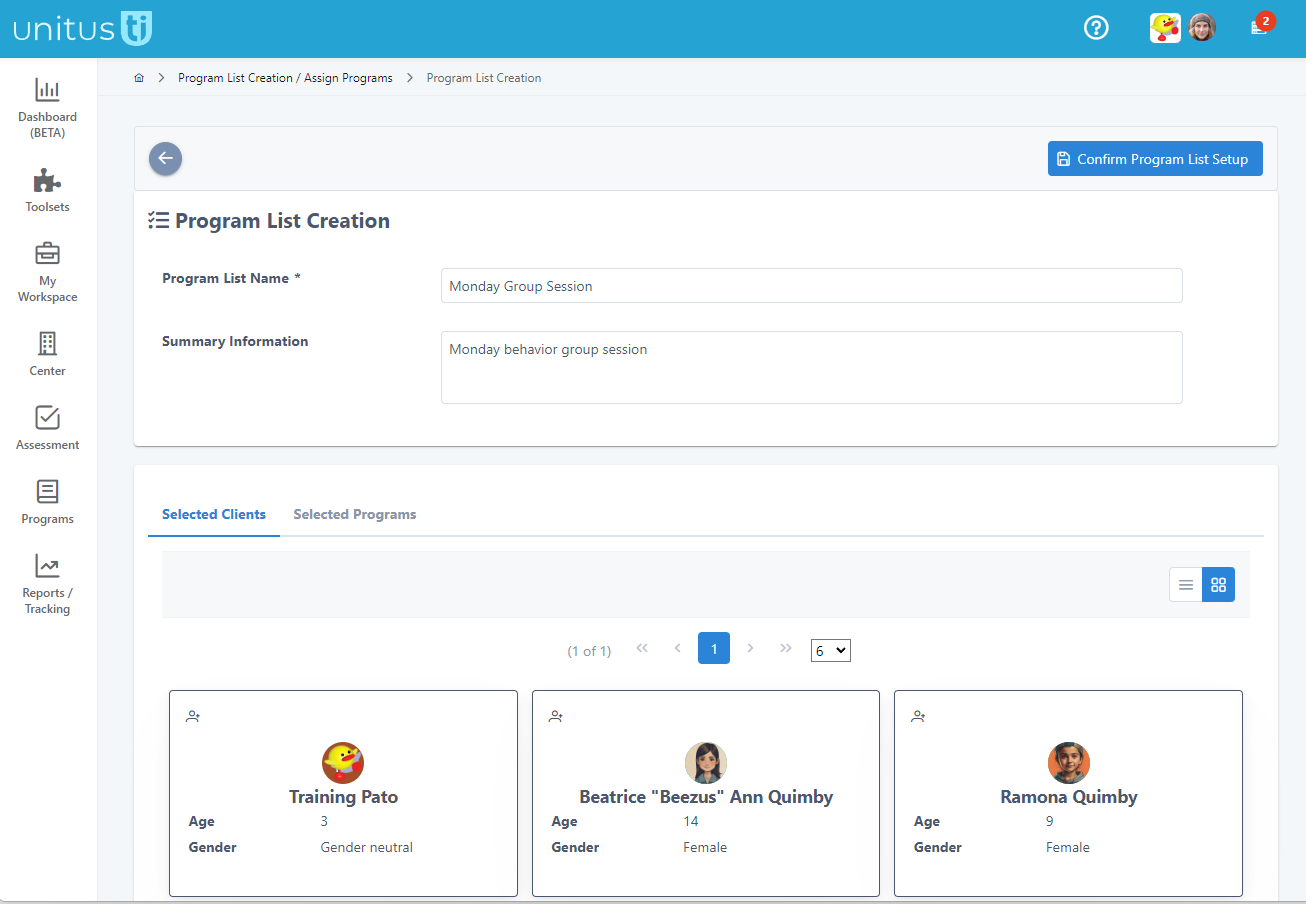
Enter a name for your program list and optional summary information, and then click “Confirm program list setup” at the top of the screen. The newly created program list will now appear among the program lists for all clients that were included in the bulk assignment.
Select a client from the Manage Programs page to view the program list in their Program List Detail page.There you can view the session history, edit configuration and perform other tasks. While the initial program list is able to be set up identically across clients using Bulk Assign, any further modifications or additional programs must be added to each client’s program list individually.
When you wish to run the program list, go to Run Program and choose it from each client’s options. Selecting “Run list” or “Add To” (the Program Queue) will automatically enable the program queue icon at the top of the workspace, making it easy to jump between each client’s list and take data during your session.